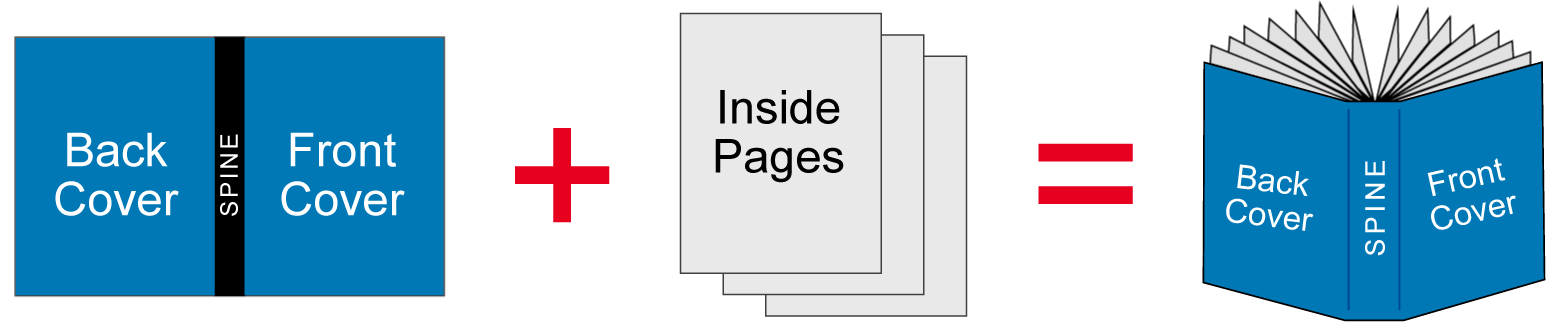
Perfect Binding | PrintingCenterUSA
Perfect binding is a popular type of book binding you see on soft cover books such as paperback books and magazines. The internal pages are printed on both sides of text weight paper, then gathered together (collated) into a book, one on top of the other, in numbered page order. The cardstock cover of the perfect bound book is placed over and around the inside pages, attached along the binding edge by the application of a strong yet flexible PUR glue.
Is Perfect Binding Right for Your Project?
Perfect Bound Booklets aren’t limited to authors who are printing books of 500+ pages. The minimum page requirement is 28 pages and plenty of businesses and organizations use this method on a variety of printing projects because of its highly professional appearance and relatively low cost, in both short runs and larger order quantities. Perfect bound binding is commonly used for a variety of publications, such as manuals, reports, catalogs, magazines, photo books and more.
| We know that perfect bound books are a no-brainer when it comes to high page counts. With any booklet that contains more than 92 pages, perfect binding is definitely superior and highly recommended and is affordable. | 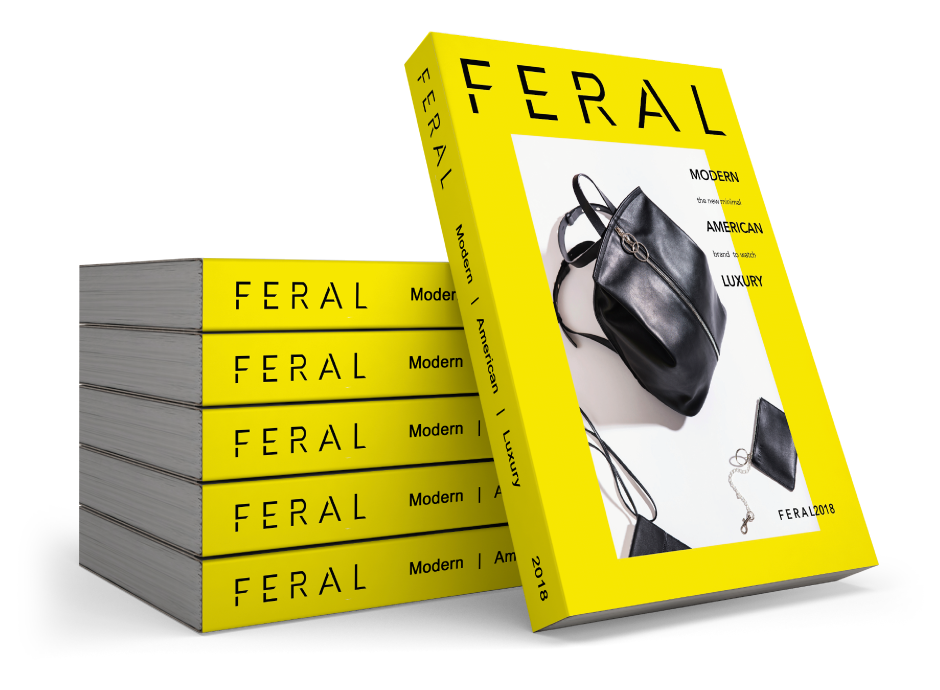 |
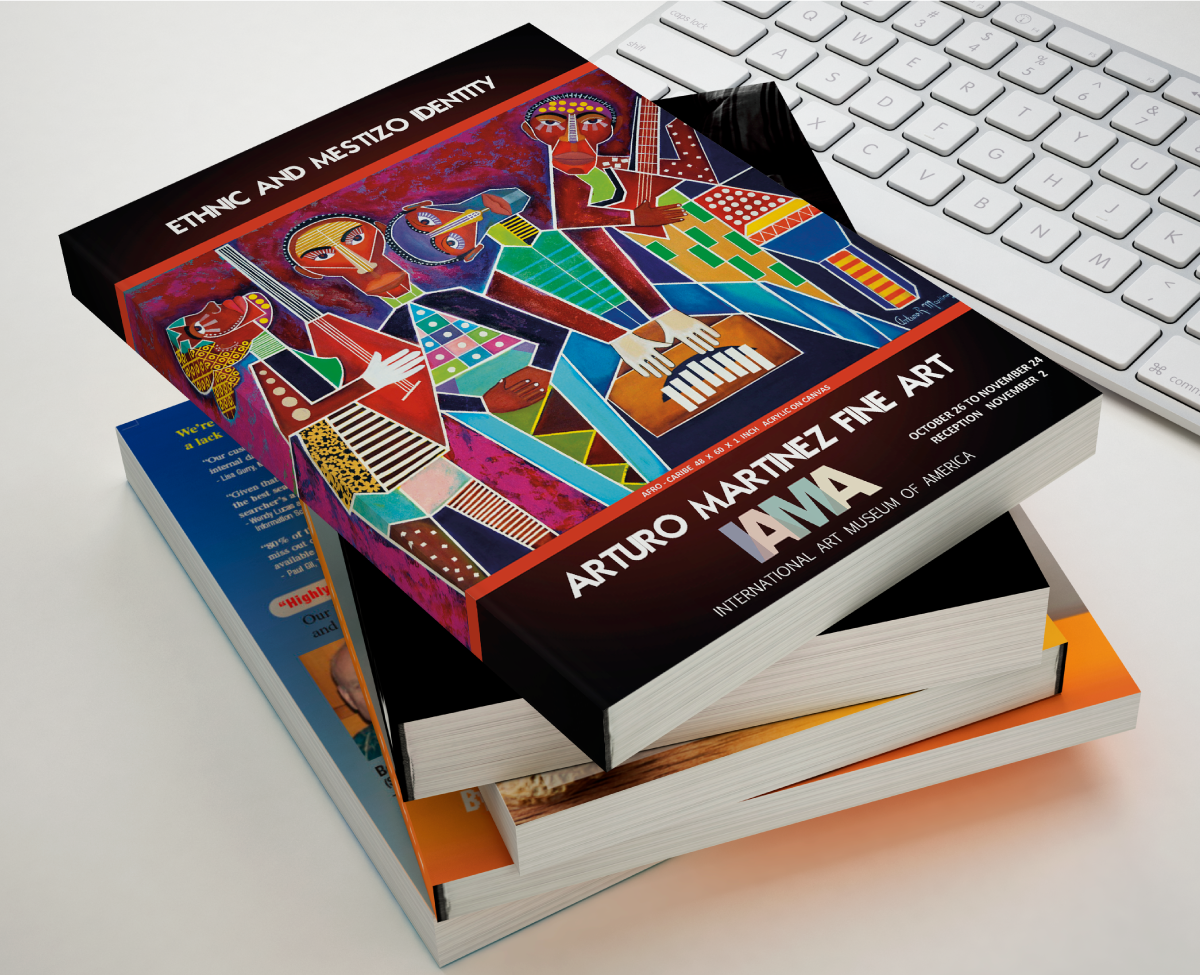
The primary benefits of perfect binding books are that they look professional and offer great visual appeal. Also, there is the option of placing content on the spine, such as an author, book title or any type of design. This is something that neither {{cta(‘1d398258-d04d-4638-8626-cd1203e899cc’)}} or {{cta(‘b77211bd-fbb3-4c93-98e8-277662099ef3’)}} binding offer. Perfect binding definitely produces a high quality and professional look that can’t be matched.
How to Set Up a Perfect Bound Book
Understanding the difference between the term “sheet” and “page” is key to correctly assessing your booklet’s final page count, which can in turn affect your quote, production time and more. For perfect bound booklet printing, you must have at least 28 pages, and up to 2” thick.
First, let’s start with a single sheet of paper. It has 2 sides – a front side and a back side. With perfect binding, one sheet of paper equals two pages (unlike {{cta(‘1d398258-d04d-4638-8626-cd1203e899cc’)}}). If you are holding up a sheet of paper in front of you, you are looking at page 1. Flip the page over and you are now looking at page 2.
For example, pick up a book and as you turn its pages, notice that each “page” has two sides (the front and back of one sheet of paper). Your printer will refer to each side as its own page. So each sheet within your book will be counted as two pages.
Get Started on Your Perfect Binding Project Today:
The Perfect Binding Process
Now that you understand the difference between sheets and pages, you can easily give your print shop the correct page count when submitting your .
As shown below, if you take a closed book so that you are looking at its cover – that’s page 1. Open the cover and you will be looking at page 2 (left) and page 3 (right). Keep going until you close the book and are looking at the back cover. The back cover will count as your last page. All-in-all, make sure to count every page, including the cover, the back cover and the inside pages (counting any blank pages) for your total page count.

Custom Perfect Bound Quote:
Perfect Bound Book Design Tips
If you have decided that your printed project is going to be perfect bound, there are a few important design tips to keep in mind when it comes to your inside pages and cover design:
1. Don’t Lose Yourself in the Gutter
Unlike a whose open pages lay flat, perfect bound books are glued at the spine and cannot lay completely open without breaking. During the binding process, an area of each page will disappear into the spine, also known as the gutter. Depending on how many pages are in the booklet, the gutter can take up between 1/4” – 3/8” of each page. It’s good practice to leave at least a quarter inch of safety margin space on the insides of each page. Be careful to keep note of which pages will be on the left or right side of your perfect bound book so you can place your safety margins on the correct side. Keep all text and any images that need to remain visible inside the safety margin so they don’t get lost in the gutter.

2. Be Careful with Two-Page Spreads
If you decide that you want one image to be featured across two pages, keep in mind that the alignment of the photo where the pages meet together might not perfectly match up. When an image covers two pages, the gutter area will still obscure at least a quarter inch off of each side. It might seem like a small amount of space to worry about, but it can drastically affect the photo’s appearance. It helps to choose photos that won’t be so obvious that there’s a gap missing (for example, a person’s face across 2 pages might be a lot more noticeable than a photo with less detail).

3. Determining the Width of the Spine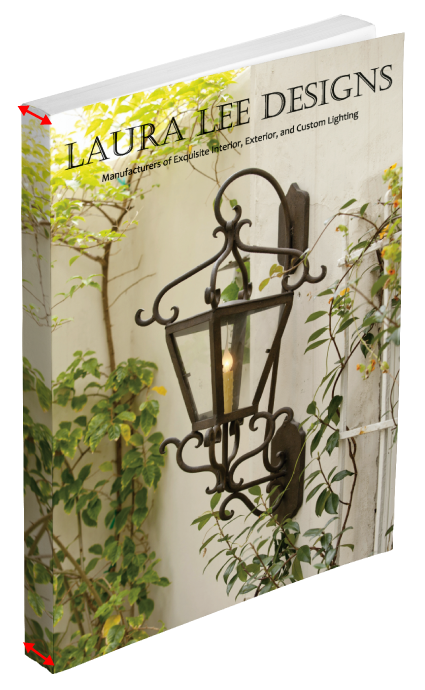
A unique feature of perfect binding is the ability to design the spine. You can keep it a solid color, add text or have one continuous image covering the front cover across to the back cover. Setting up your cover correctly is very important for perfect binding because the width of the spine needs to match exactly with the thickness of your book (which depends on the paper weight and number of pages you choose).
As soon as you have a final page count, give us a call at 800-995-1555 and we can help you choose your paper weight and calculate the width of your book’s spine.
PrintingCenterUSA is happy to answer any questions you have about perfect book binding or any of our full color digital printing services. Call us at 800-995-1555 or send us an e-mail.