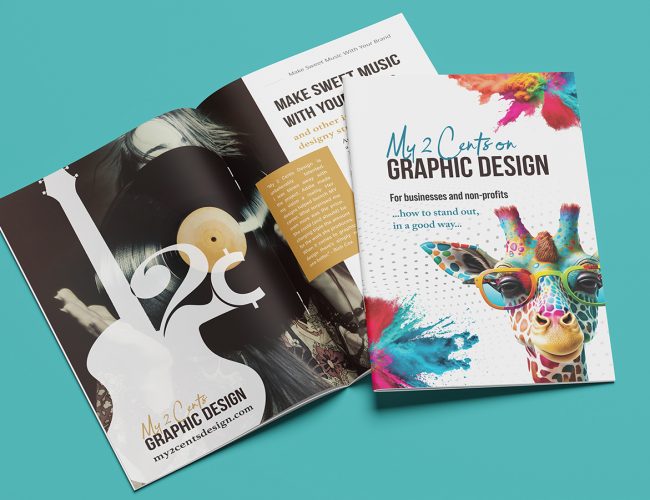
Discover how My 2 Cents Design uses the power of print to help businesses succeed. Get inspired by their founder's story and expertise.
Discover how My 2 Cents Design uses the power of print to help businesses succeed. Get inspired by their founder's story and expertise.
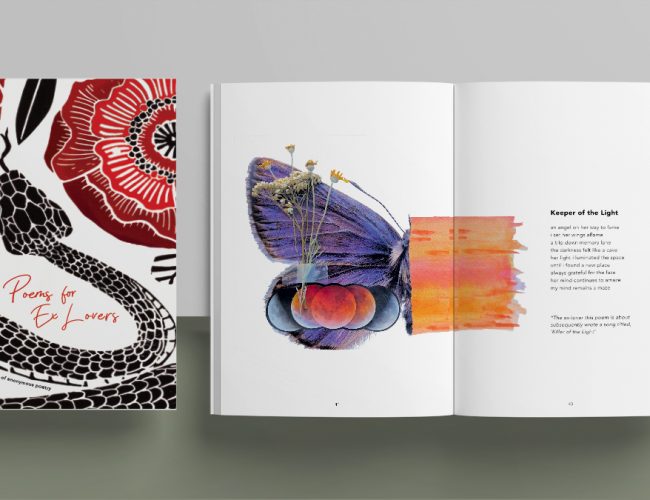
Dive into a world of raw emotion with "Poems for Ex Lovers." This heartfelt anthology is a testament to the power of the printed word.
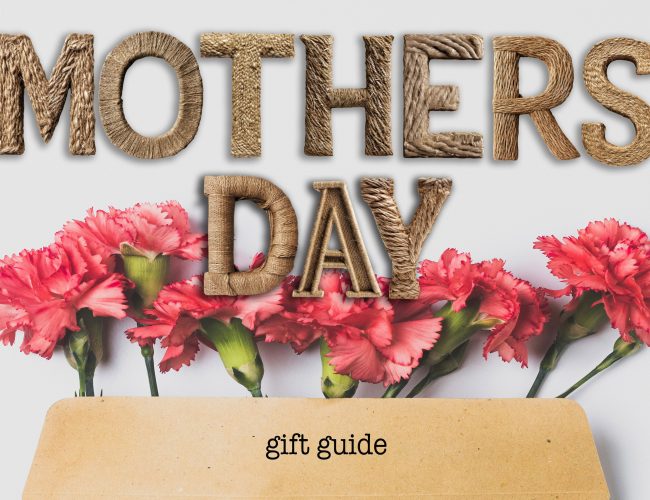
The only Mother's Day Gift Guide you'll need! Create personalized gifts that are sure to make her smile all year long with PrintingCenterUSA.
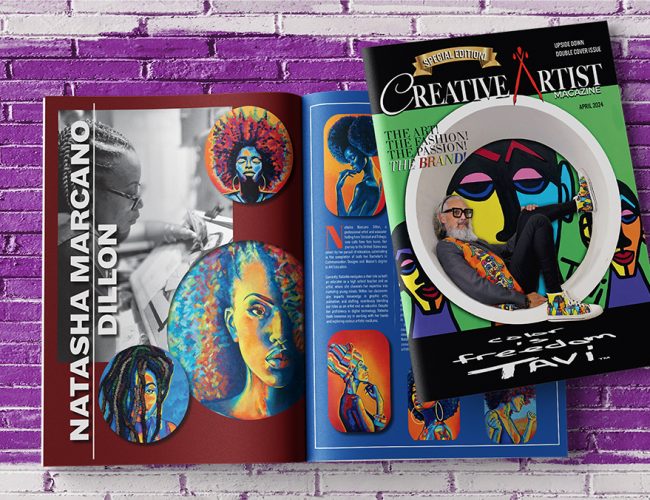
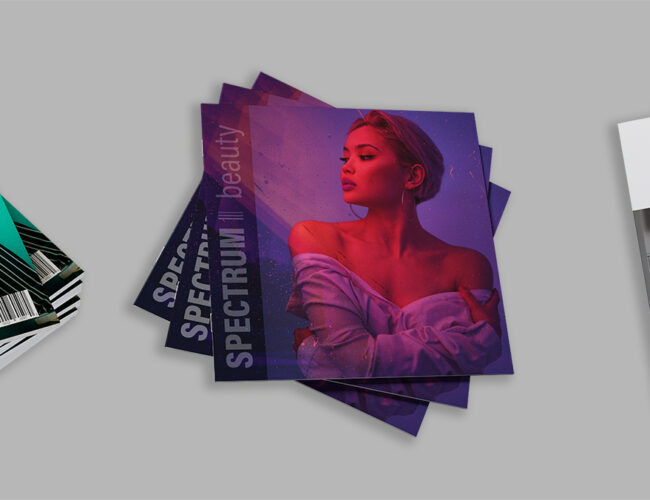
Discover Creative Artist Magazine, the must-read for art lovers craving edgy, groundbreaking work. Get inside the minds of artistic rebels and explore their raw, unfiltered creativity.

Your guide to May 2024 social media success! Get inspiration for Cinco de Mayo, Mother's Day, Memorial Day, and more. Connect with your followers!
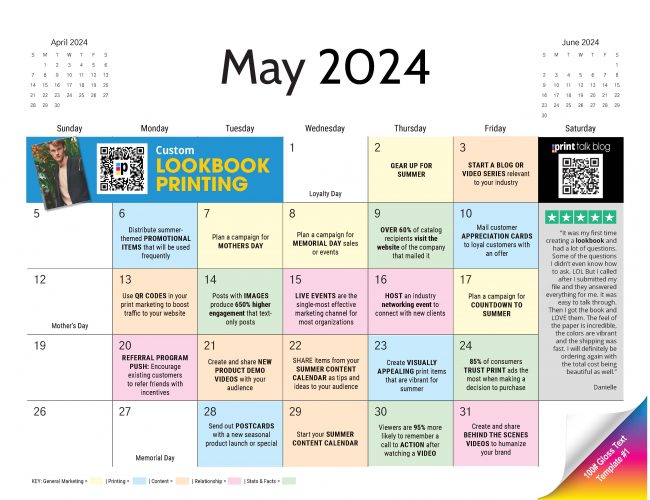
Level up your May marketing with our content calendar! Includes ideas for Mother's Day, Memorial Day, summer promotions, customer loyalty, print marketing, and more. Free download!
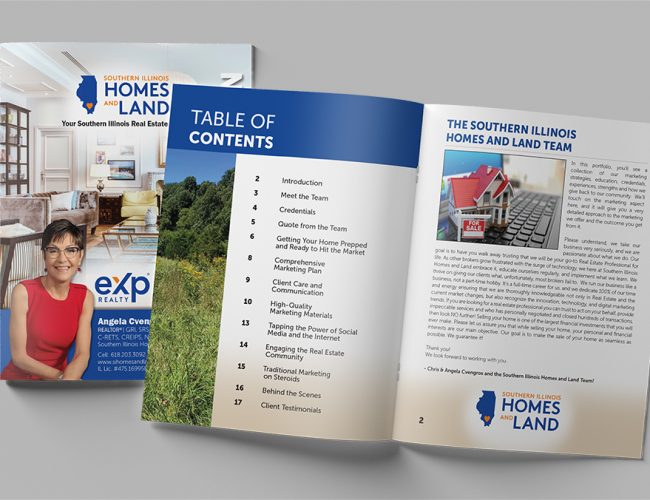
Discover the blueprint for a winning real estate marketing plan! Get inspired by a top agent's strategy and design your own for success.
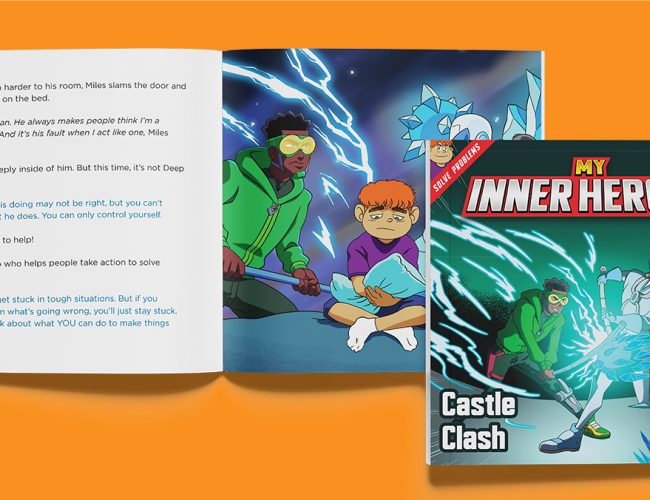
Discover Inner Heroes Universe, where children's books teach social-emotional skills with engaging stories. Available in English and Spanish.
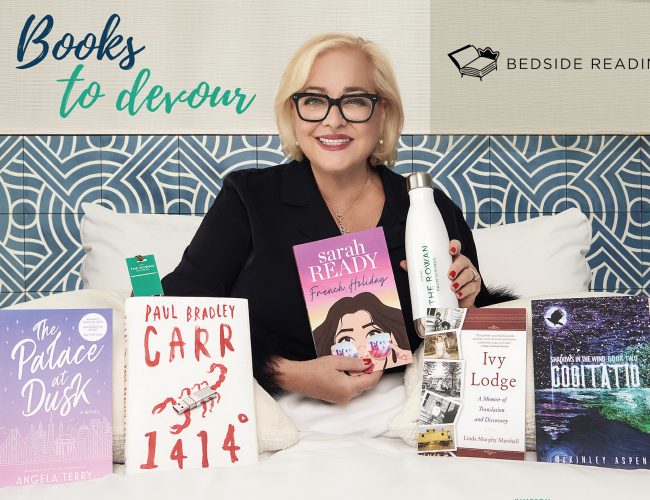
From heartbreak to hotel reading revolution – discover the unique story of Bedside Reading. Find your inspiration in a curated book collection during your next luxury stay.
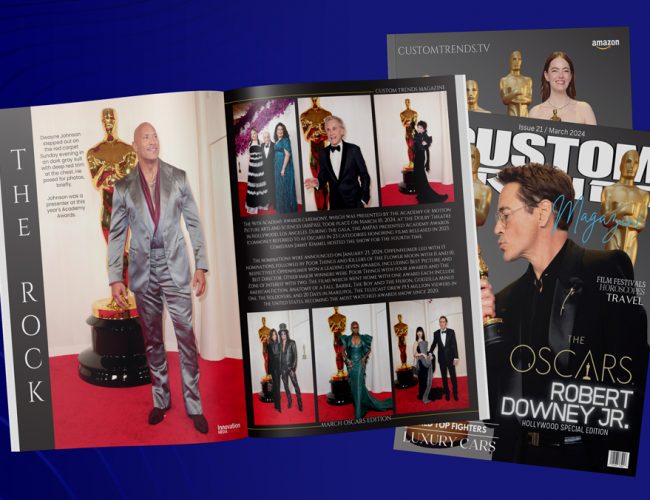
Experience luxury without limits. Custom Trends Magazine partners with industry leaders to bring you exclusive insights into fashion, automotive innovation, and the world's most coveted events.
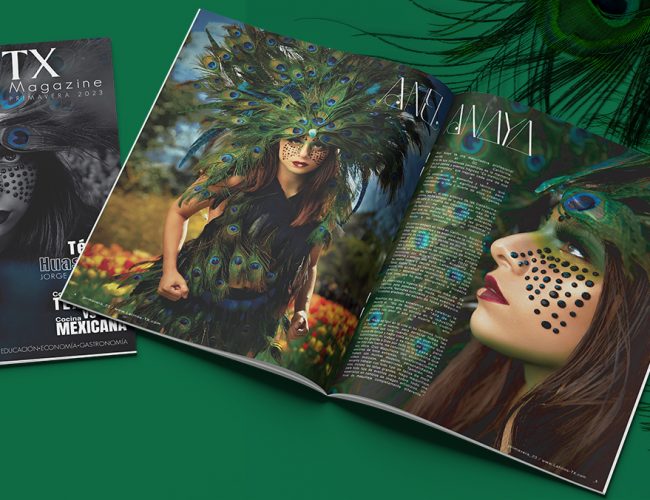
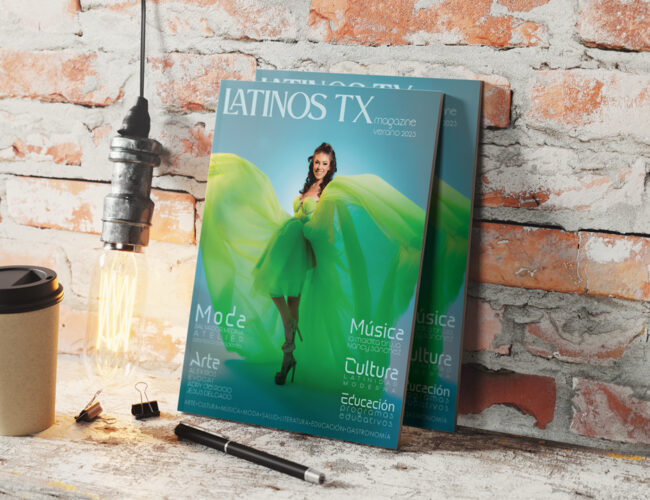
Explore the power of print media in bridging cultures. See how PrintingCenterUSA and Latinos TX Magazine collaborate to create a vibrant voice for the Latino community.

When a story connects on an emotional level, it’s not just content anymore; it’s an experience. Director's cut secrets behind emotionally impactful brand storytelling.
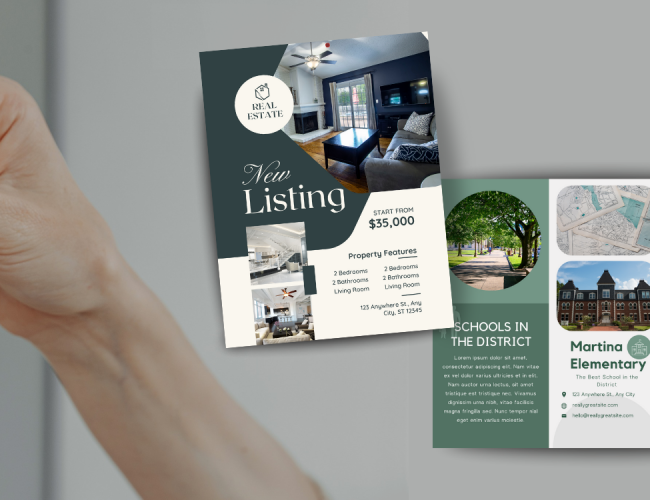
Here are the top 10 free Canva templates for real estate agents and brokers in 2024! Get them professionally printed with PrintingCenterUSA!
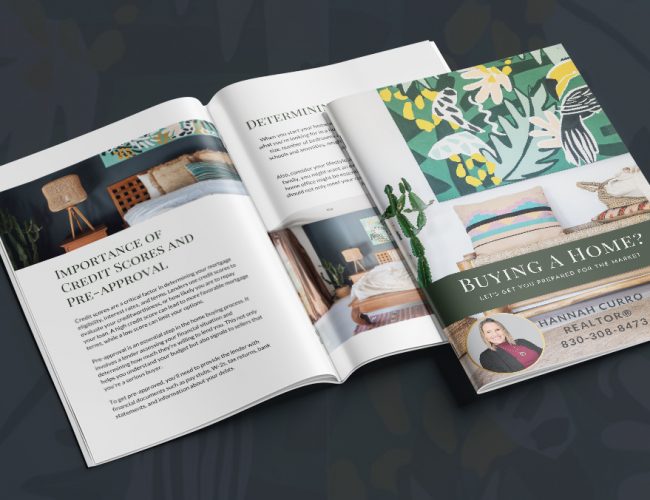
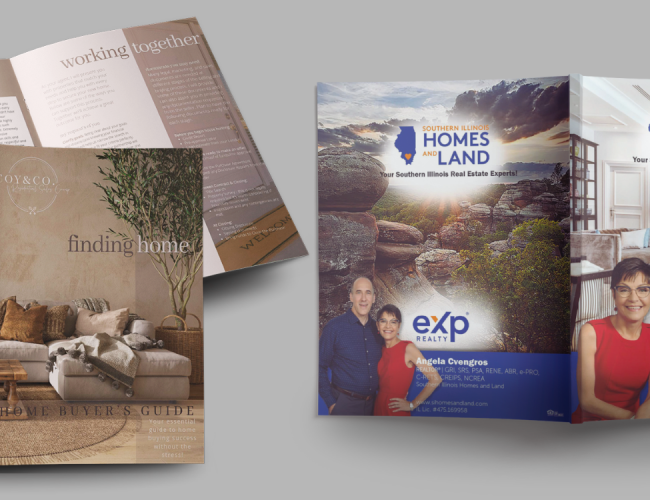
Help your real estate clients make informed decisions with a comprehensive buyer's guide. Learn how to create and print a valuable resource.
Ready to turn your design skills into a profitable business? Our featured entrepreneur shares the strategies that led to success.
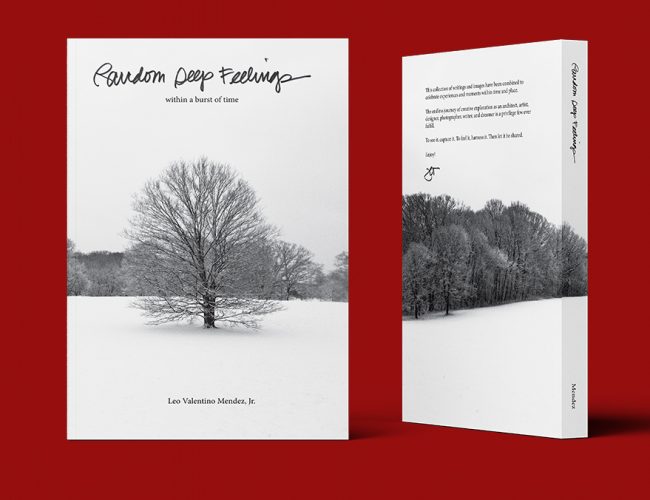
Discover 'Random Deep Feelings' by Leo Mendez, a blend of writings and images celebrating creative exploration, brought to life in print.
Elevate your real estate marketing to close deals with our top 6 print products. Discover the power of booklets, newsletters, guides & more!
LUXE Properties Real Estate Marketing strategies drive success in the Miami luxury market. Explore their winning tactics and expert insights.
Master the art of creating print-ready files with our free downloadable templates to ensure your projects print perfectly every time.
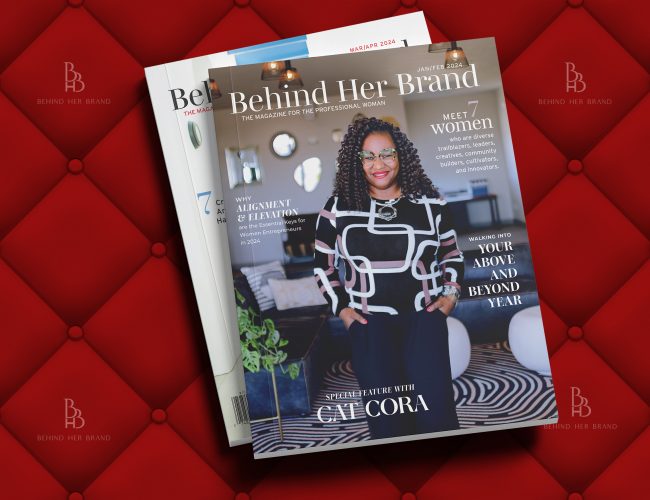
Discover Behind Her Brand magazine, a community where women's journeys are celebrated, fostering growth and connection through print.
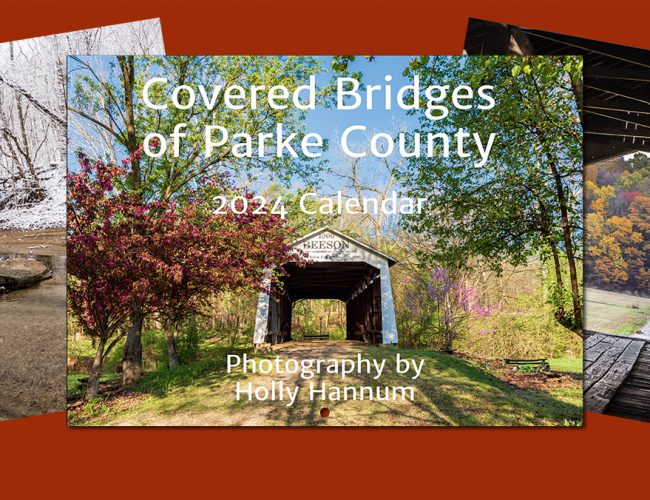
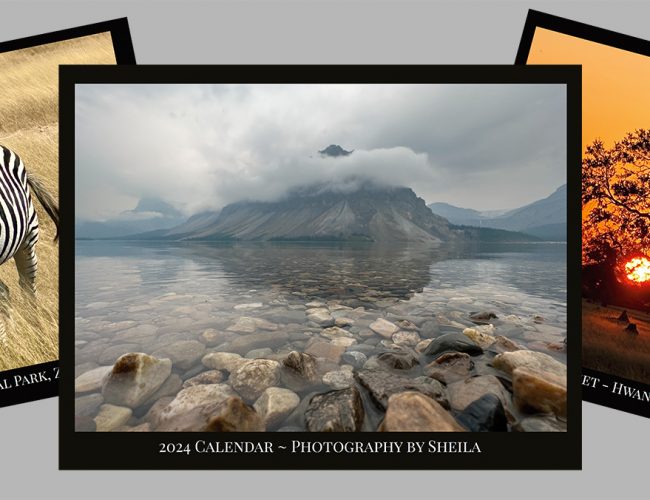
Learn how this artist started her dream photography business with calendars! Explore actionable marketing tips for your photography business.

Ready for a life-changing adventure? Discover Chris McCormack – featured artist, travel guide, and catalyst for personal growth. See his world, unlock yours.
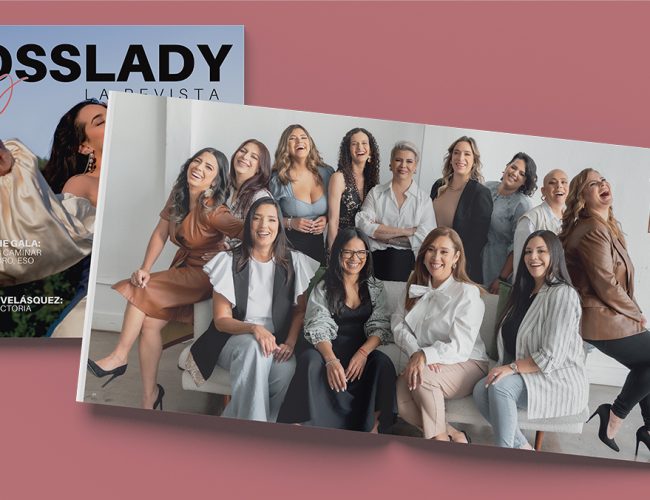
Discover Bossladies Rocking, a Texas-based movement empowering women and building community. They offer coaching, events, and support for entrepreneurs.

Find fresh ideas for your April social media! From April Fools' fun to Earth Day campaigns, get tips for spring themes, pet content, & more.
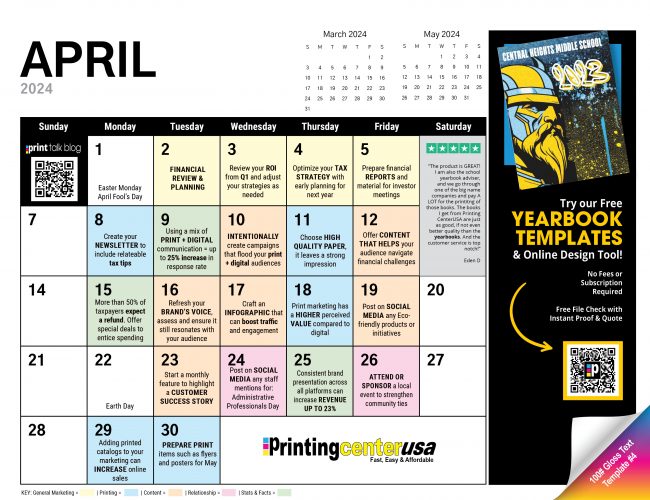
Spring into successful marketing! Our April content calendar reveals creative strategies, must-know dates, and the power of combining print and digital.
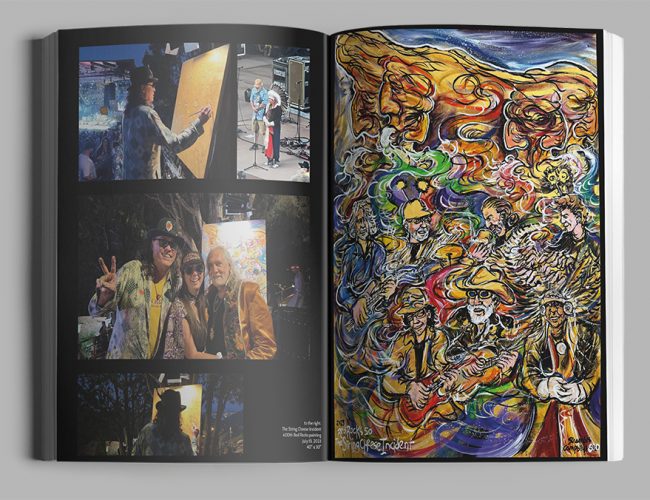
Where bold colors and expressive brushstrokes dance! Discover the magic of Scramble Campbell's art, printed with love by PrintingCenterUSA.
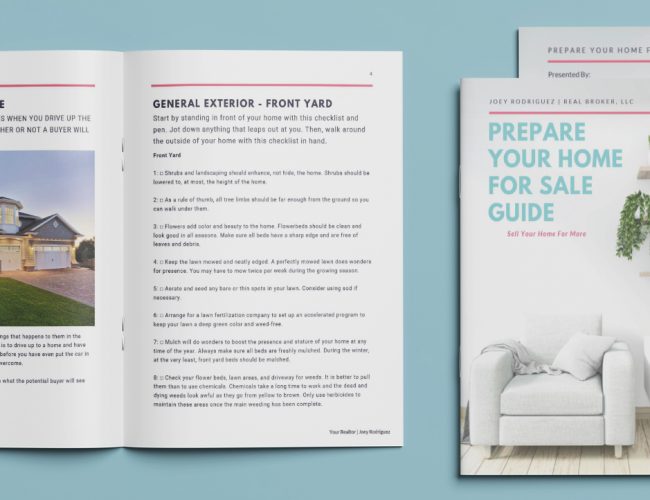
Your roadmap to a successful real estate guidebook! Learn what content helps properties stand out and close for top dollar.
Learn how to properly set bleed and safety margins in Microsoft Word for flawless print projects. Get a step-by-step guide and video tutorial!
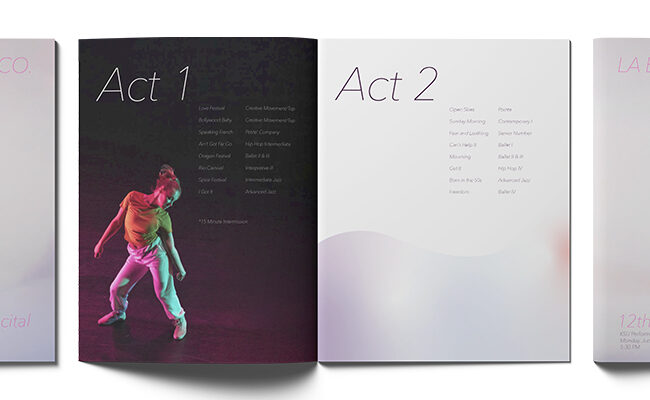
Design tips to create dance recital programs that will be cherished keepsakes. Use good photos, color, and layout for a professional look.
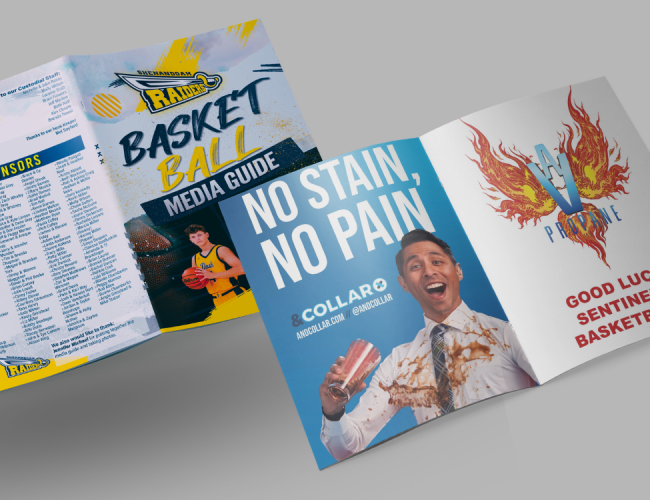
Maximize program ad revenue with these easy fundraising tips. Learn effective strategies for selling program ads and attracting sponsorships.
Quick guide to digital flipbooks from PCUSA! Get share links for easy online distribution and embed codes for seamless website integration.
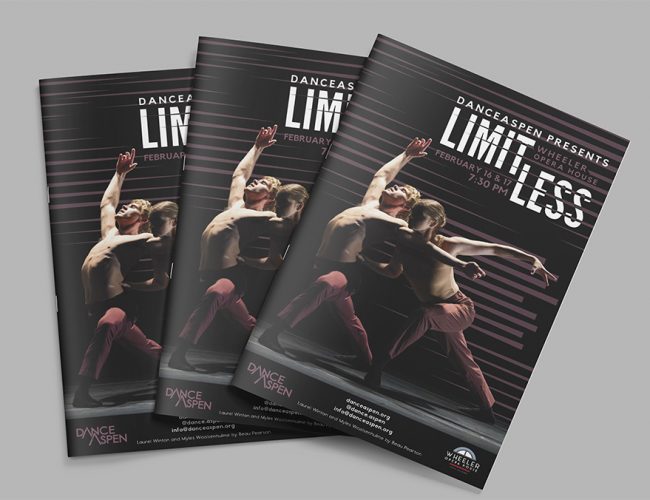
Discover how DanceAspen partnered with PrintingCenterUSA to create a stunning program that brought their 'Limitless' performance to life.

Graphic Encounter Fine Art elevates hospitality spaces with unique art, and PrintingCenterUSA ensures each piece is brought to life in print.
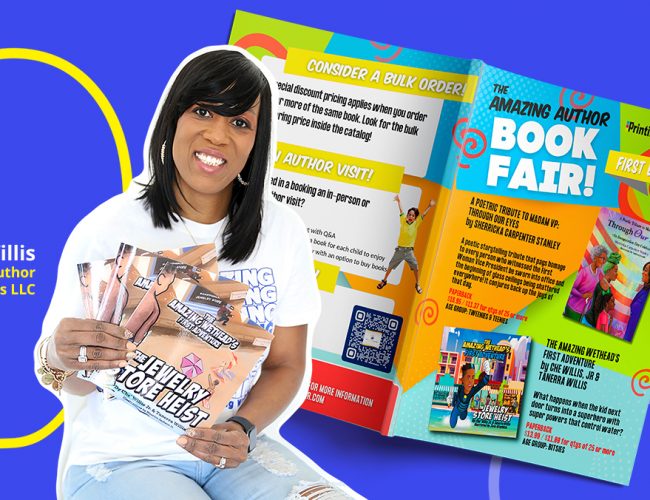
Get inspired by The Amazing Corner's self-published author book fair! Supporting authors, fostering community, and promoting a love for reading.
Quickly & easily add bleed & safety margins to your Canva projects. Get print-ready designs in minutes. Includes helpful tips & best practices
Custom calendars for client relationships are this consultant's secret weapon. Read her story and find out how they can benefit your business.
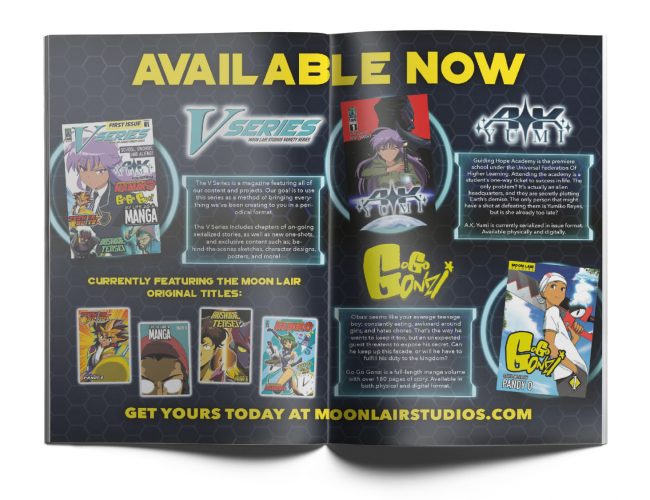
Spotlight on Moonlair Studios: Explore their latest comic book project, printed to perfection, in our Featured Artist series.
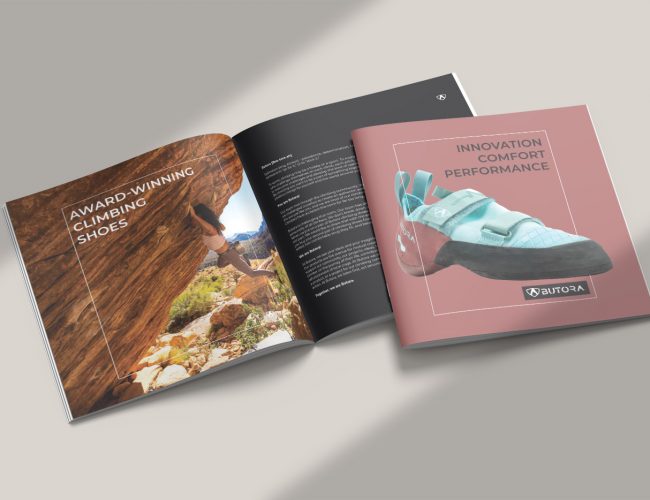
Discover HMH Outdoors' latest catalog for Butora Climbing Shoes, featured in our Customer Showcase. See how quality print brings outdoor gear to life.
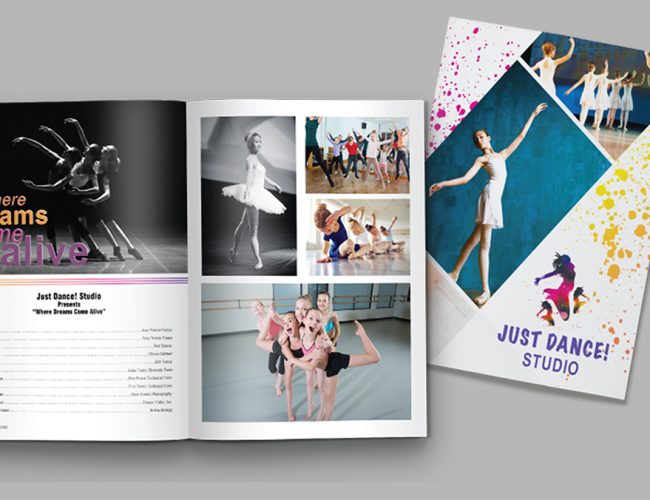
Discover how custom dance recital program printing can enhance your event, offering a memorable keepsake for participants and attendees. Explore sizes, design tips, and fundraising ideas to make your program stand out.

Explore the impact of postcard mailers on La Conner's scholarships, driving community engagement and significant fundraising success

Boost your March social media strategy with our 2024 Content Guide, brimming with innovative posts for St. Patrick's festivities, Women's Empowerment Day, and seasonal transitions. Revitalize your online presence with vibrant spring themes!
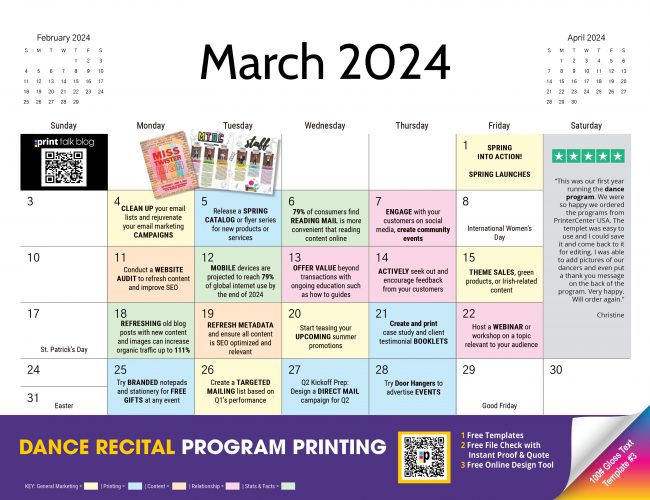
Elevate your marketing strategy with our March 2024 Content Calendar. Packed with engaging themes and innovative content ideas, this guide includes a free printable calendar to keep you ahead. Ready to boost engagement and innovation?
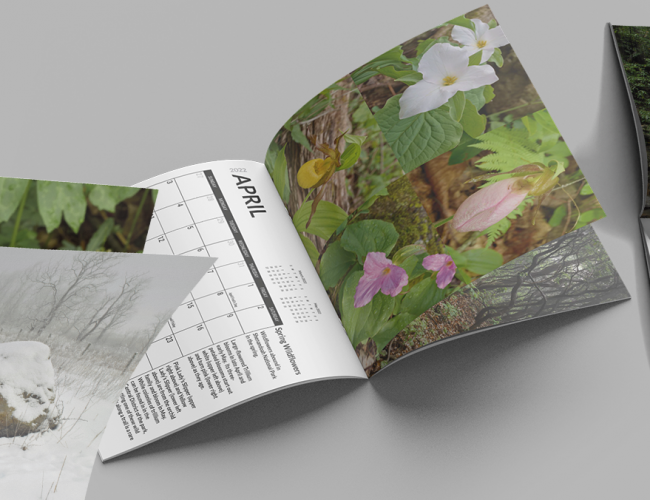
Embark on a visual journey with Shenandoah Treasures, where photography calendar design meets simplicity with our free online design tool.
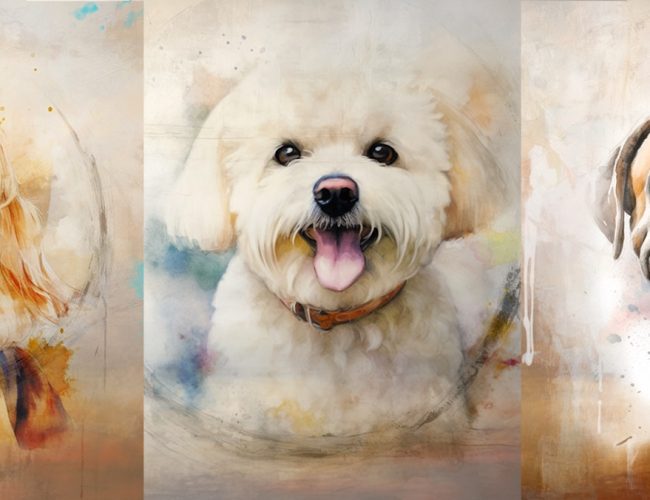
Enter the journey of custom art printing with Teri Kai, and learn how her visions have become printed reality. A tale of creativity and quality.
Explore the latest trends and tips in catalog sizes. Stay ahead with our comprehensive guide on sizes, designs, and innovative printing solutions.

"Revitalize your February social media strategy with our exclusive content ideas for 2024. Elevate your online presence with fresh, innovative approaches to engage and inspire your audience!

Explore our February 2024 Content Calendar for innovative marketing strategies. Packed with weekly tips, from relationship marketing to digital media trends, it's your guide to enhancing customer engagement and driving business growth this month.

Explore how Converlation uses booklets to revive real-life interactions in a digital world, fostering deeper connections. Discover their unique paper-based approach and its impact
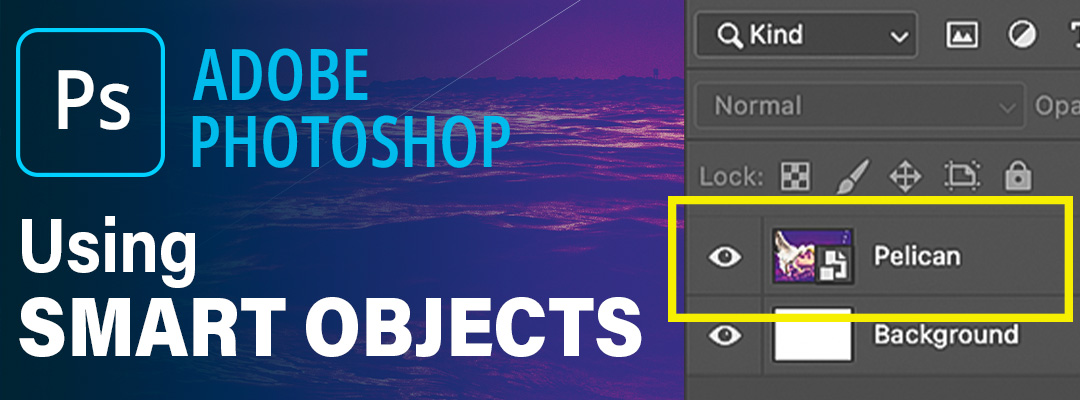
Smart Objects merge flexibility with quality retention, improving efficiency and increasing creative freedom for designers.
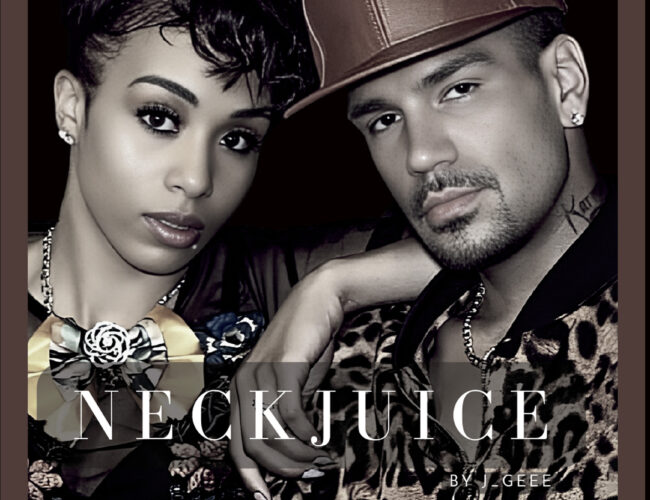
This is the story of NeckJuice, a fusion of luxury style and innovative design, where bespoke bowties and exquisite prints come together to create a world of elegance and creativity.

Join the adventures with Jeff Mullins' landscape and wildlife photography from Tennessee, capturing nature's essence in every shot.
Kickstart your marketing with our January 2024 Content Calendar. Tailored for dynamic marketing strategies, this calendar offers unique ideas and essential tips for impactful branding. Perfect for businesses and marketers looking to make a memorable start in the new year. Brought to you by PrintingCenterUSA, your partner in creative and effective marketing solutions.
10 January social media content ideas featuring key dates and ideas for holidays and events. Perfect for boosting engagement and celebrating the new year!
Uncover the top 10 advantages of print advertising, supported by key statistics, and learn how to integrate them effectively with digital strategies for enhanced marketing success.
Anchor & Alpine excels in web design and partners with PrintingCenterUSA for quality magazine printing. This collaboration boosts client engagement & highlights their marketing

Discover key insights in graphic design print, and learn how it synergizes with digital marketing to elevate brand impact and engagement.
Explore our curated list of the 5 Best Print Marketing Materials for 2024 from PrintingCenterUSA. Discover selections that go beyond trends to effectively enhance your brand's impact and audience connection.
Learn about Diane Jensen, a Wisconsin fine art photographer & her skill in creating photography calendars, through her partnership with PrintingCenterUSA
Explore the hidden superpower of print marketing in our digital era. Uncover strategies to amplify your brand's reach and impact. Learn more!
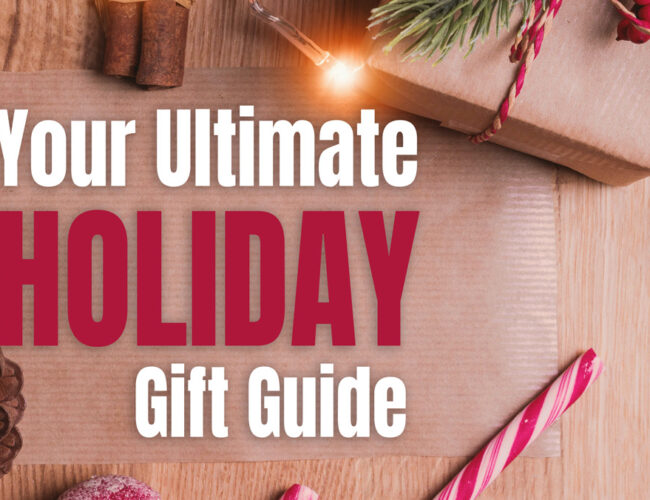
Looking for unique gifts? Check out our Holiday Gift Guide at PrintingCenterUSA for personalized cards, calendars, and more!

Ready for holiday cheer on social media? From winter tips to holiday countdowns find content ideas here to captivate your audience.
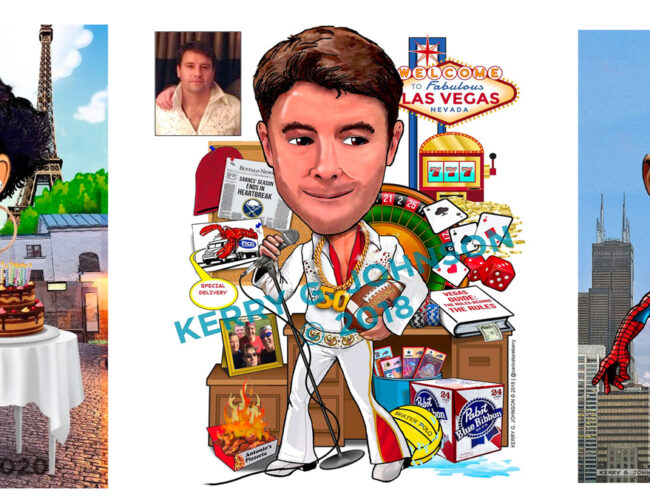
Ever wondered how a creative chameleon shapes the world of graphic design? Join us in exploring Kerry G. Johnson's journey, where humor and artistry blend to redefine visual storytelling.
Discover the best book paper options for impactful brand engagement. Learn about sizes and cost-effective strategies for booklet printing.
PrintingCenterUSA wins the BBB Torch Award for Ethics in Montana, hailed for exceptional integrity and ethical practices that set a benchmark in the business community.

Margaret Foxmoore's photography book unveils the deep bonds of NYPD K9 units amid the vibrancy of NYC life.
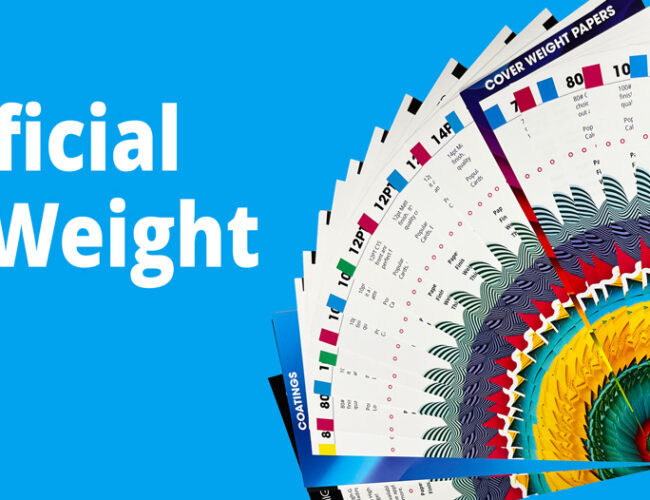
Discover the perfect paper weight for your print project with our comprehensive "Paper Weight Guide". Learn to choose the right weight for durability and quality printing.
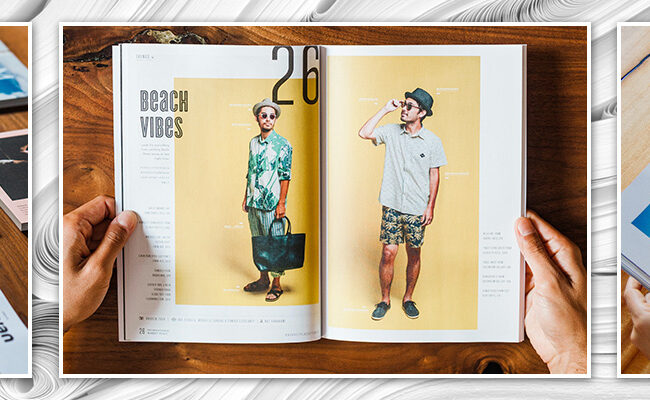
Looking for the perfect magazine paper? Explore how the right paper type can transform your magazine's aesthetic and reader experience, enhancing its overall success.
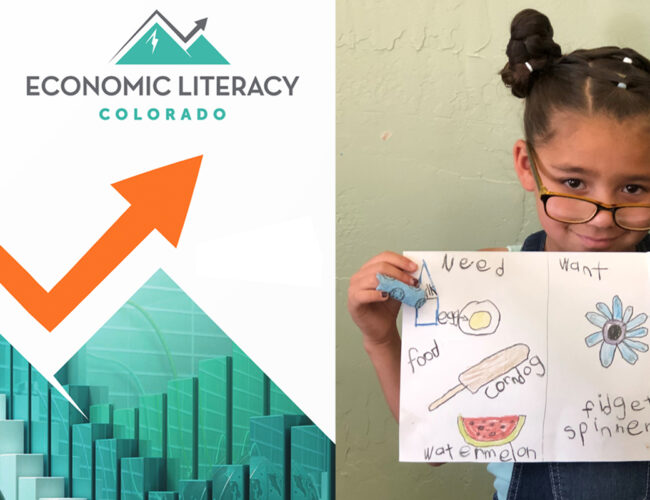
Discover how print boosts nonprofit impact: A success story with Economic Literacy Colorado and PrintingCenterUSA.
Puzzled by the terms DPI vs PPI for printing? Learn the definitions of these terms, the purposes in printing and pro tips for file set up.
Thinking about self-publishing? Learn tips and strategy from this 5-time author's success story who is selling more books than ever!
Confused about full bleed vs no bleed printing? Learn more about these simple yet important terms and how to set up your file correctly.

Starting a rebrand and unsure where to begin? Explore 5 expert graphic design strategies to breathe new life into a brand's identity.
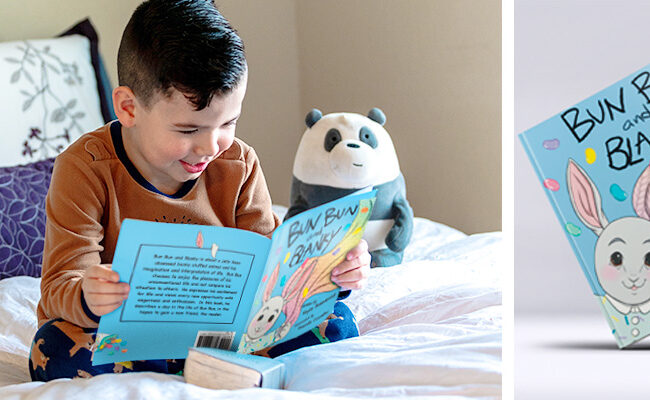
From fashion to 'Bun Bun and Blanky', discover Kayla Bohnhorst's children's book journey and her commitment to quality printing
Deciphering hardcover vs paperback? Welcome to our guide on each book type, pros, cons, and unique features. Choose the best for your project
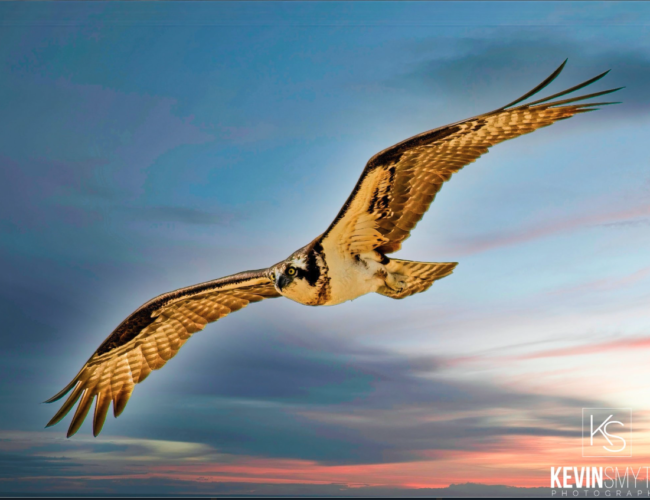
Can Leaving Corporate Life Create a Path to Photographic Mastery? Explore Kevin Smyth’s photography, merging artistic precision with top-quality print
Learn the importance of embedding fonts in PDFs for accurate and professional booklet printing. Discover simple steps to embed fonts with or without Adobe and ensure your designs are perfectly represented in print. Explore hassle-free, high-quality printing solutions with PrintingCenterUSA!
Discover 5 inspiring fall content ideas to enliven your social media! Dive into seasonal imagery, niche tutorials, trending topics, festive contests, and unique events, and learn how printing can make your autumn creations tangible. 🍁🖨️📱 #FallContent #PrintingIdeas

Explore the distinct characteristics of matte vs glossy prints with our comprehensive guide. Learn about the benefits for your perfect finish
Explore the journey of a talented artist who transformed his passion into visually stunning and affordable books, marking a milestone in his journey.
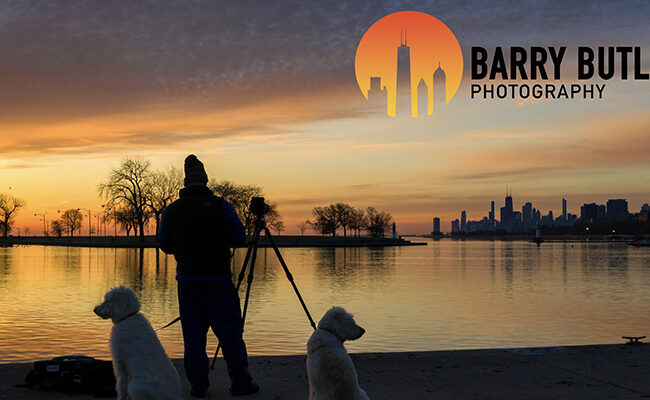
Journey through the story of Barry Butler, capturing the heartbeat of Chicago and crafting pixel-perfect quality calendars.

Journey through Michigan with photographer Craig Sterken and see how photography calendar printing transforms his stunning shots into timeless keepsakes.

Part of our Success Series, this article unveils the inspiring journey of a wilderness whisperer. Discover how a dedicated photographer transformed her love for nature into standout photography calendars, marking a notable chapter in print success.

Explore the inspiring journey of Carol DiQuilio, a nature photographer who transformed her retirement hobby into a successful business. Discover how Printing Center USA played a pivotal role in her story, helping her create popular wildlife calendars and a stunning book on fox cubs.

This is the revolution in wellness coaching—the power of personalized, printed wellness workbooks to change lives. It’s about more than just diet or exercise—it’s about a holistic approach to wellness that respects and nurtures the mind, body, and spirit. Uncover the transformative power of printed workbooks in creating a wholesome mind, body, and spirit connection.

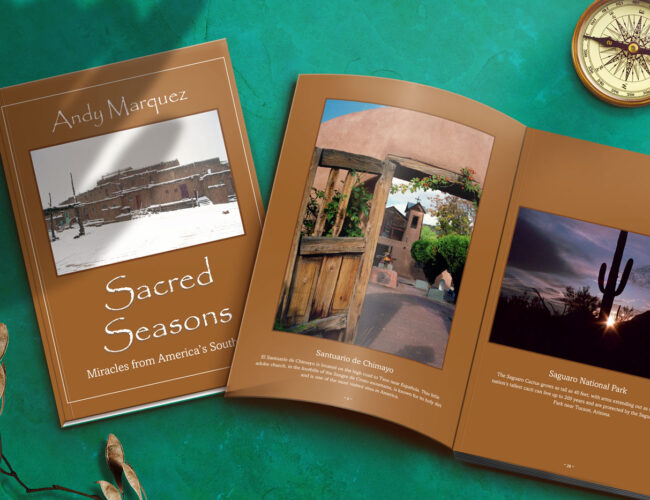
Embark on a captivating journey through the artistic expedition of Sally Foster and her collaboration with PrintingCenterUSA. Explore a narrative that intertwines art, photography, and the transformative power of printing, as Foster's extraordinary path takes you from crayons to capturing breathtaking moments. Witness firsthand how PrintingCenterUSA's innovative services empower artists to bring their visions to life in beautifully printed works of art.
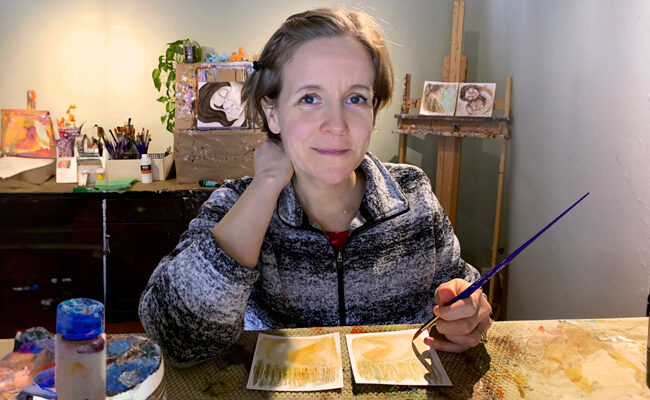
Discover the inspiring journey of Katie M. Berggren, a full-time mother and artist, as she shares her experience of creating captivating art pieces and turning them into tangible products like coloring books and calendars with PrintingCenterUSA. Dive into this insightful interview to learn from her success story.
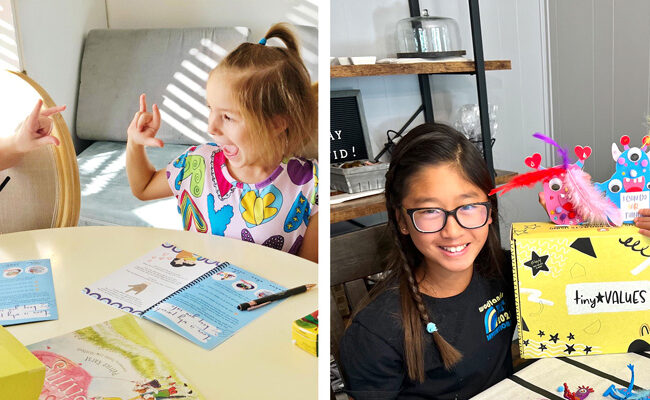
Discover the success story of Tiny Values, a unique children's subscription box service. Learn how the founder, Angelique Reisch, partnered with PrintingCenterUSA to deliver high-quality, engaging content for kids, and glean insights on her innovative business strategy. An inspiring read for entrepreneurs and business owners alike.
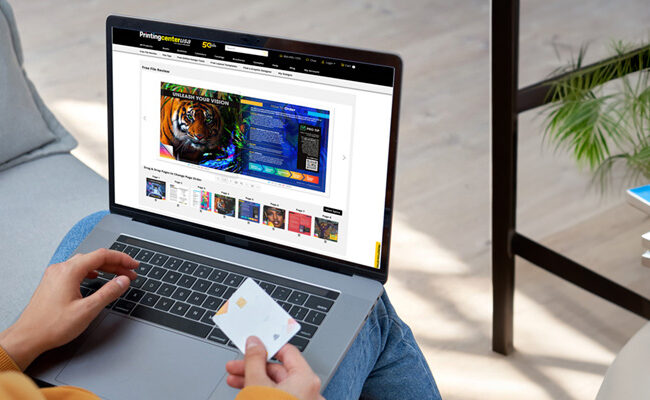
Say goodbye to second-guessing and hello to peace of mind. Simply drag and drop or upload your files and see a free preview on screen in no time! You’ll see any details that may need fixed prior to printing, and you can even download and email a free report. With our free file review tool, you can be confident that your files are ready for print. It's quick, easy, and completely free.

Unlock the digital potential of your print project! Every publication product purchase at PrintingCenterUSA includes a complimentary Digital Flipbook. Discover how this interactive feature enhances your content's reach and engagement.
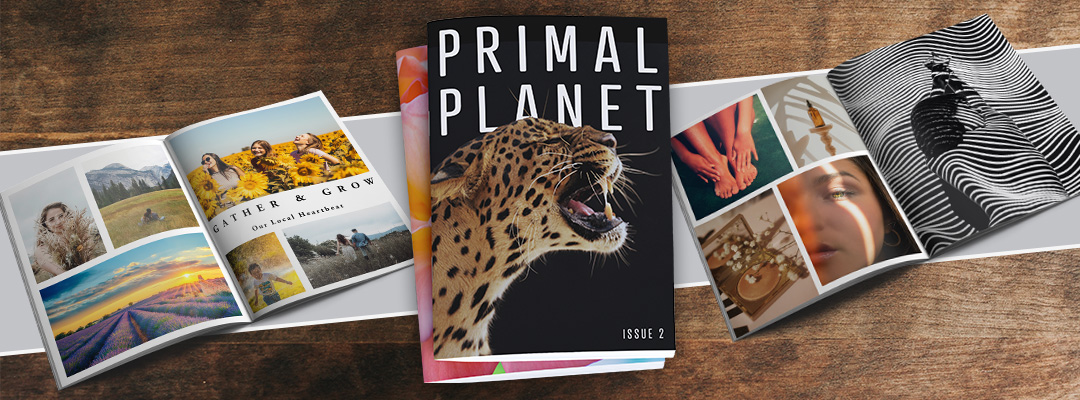
Master book design with our expert tips on layout, size, binding, and imagery. Elevate your book and engage readers with our essential guide.